Home Assistant
It's possible to integrate the Devices in Home Assistant. The integration is based on MQTT, Autodiscovery is used.
Configuration
We need to add following Environment-Variables to the Localkit-Container:
HOMEASSISTANT_PORT=HOST_PORT
HOMEASSISTANT_HOST=HOST_IP
HOMEASSISTANT_CLIENT_ID=localkit
Replace IP and Port with your MQTT-Server.
If your MQTT-Broker requires authentication, add following variables too:
HOMEASSISTANT_AUTH_USERNAME=USERNAME
HOMEASSISTANT_AUTH_PASSWORD=PASSWORD
Two users required
When using MQTT authorization, two separate users are needed — one for subscribing (used by Localkit to receive messages) and one for publishing (used by Home Assistant to send commands). Using a single user for both may cause permission errors.
Enable
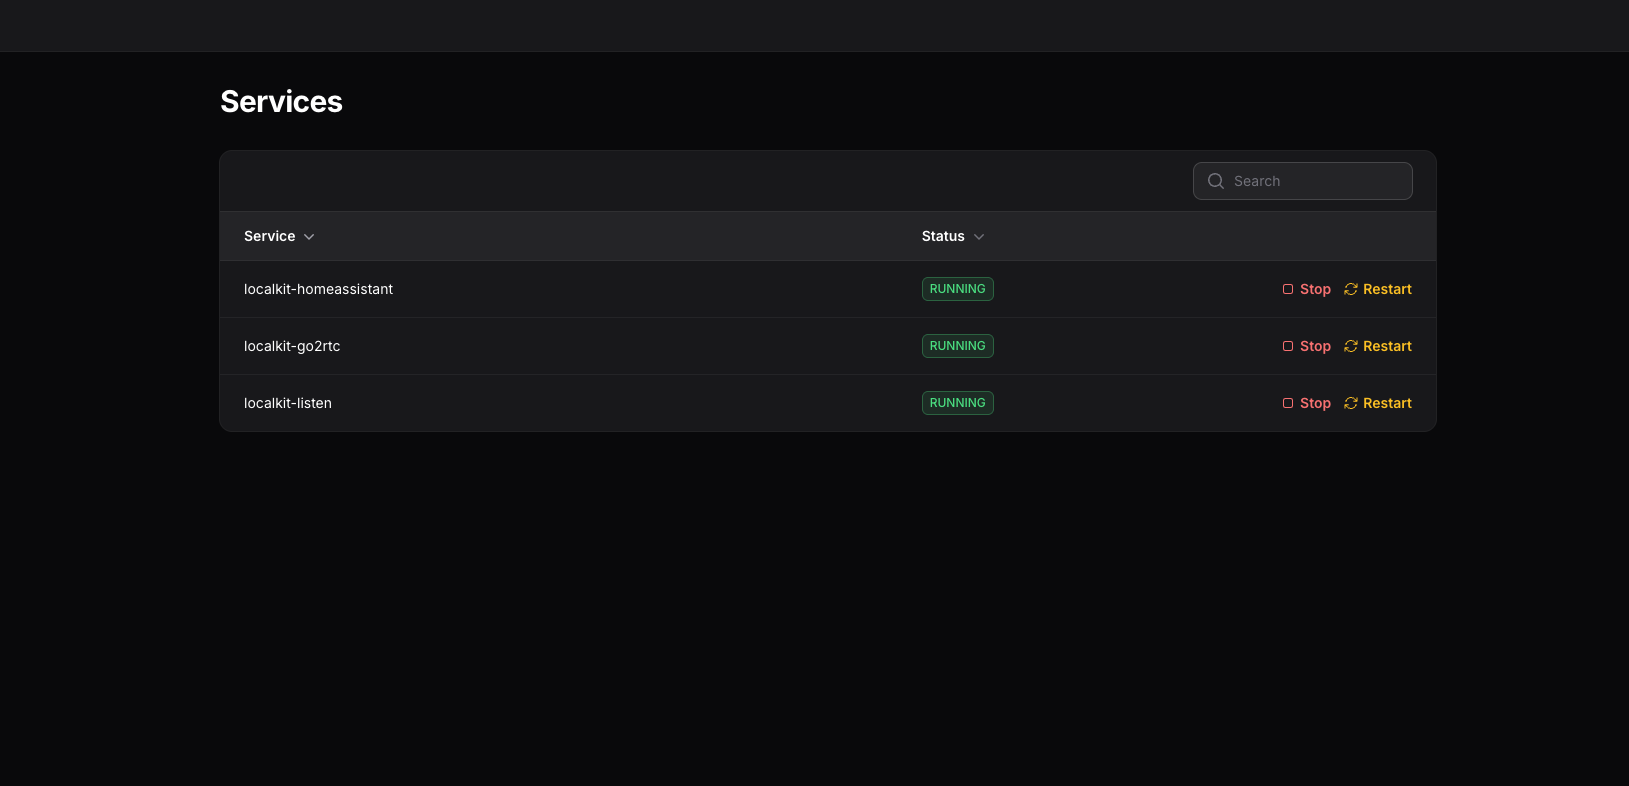
If your Devices are not connected to Home Assistant, ensure the localkit-homeassistant service is enabled and running:
Entity Types
Localkit publishes devices via MQTT autodiscovery using a broad set of Home Assistant entity types — switches, sensors, binary sensors, buttons, numbers, selects, images, and event entities, among others. Each device's documentation lists the exact entities it exposes.
All settable entities (switches, numbers, selects) write their values straight back to the device, so changes made in Home Assistant take effect immediately.
Activity Events
Every device activity — feeding, drinking, pet detection, cleaning cycles, errors — is published to Home Assistant as an Event entity (named Activity). Each device gets one event entity that fires for the following event types:
| Event type | Meaning |
|---|---|
eat_start / eat_over | A pet started / finished eating at a feeder |
drink_start / drink_over | A pet started / finished drinking at a fountain |
detect | A pet was detected by a camera |
in_use_start / in_use_over | A pet entered / left a litter box |
cleaning | A litter box cleaning cycle started |
maintenance | A maintenance cycle ran |
error_start / error_over | A device error started / cleared |
Use an event entity as an automation trigger and branch on the event_type attribute:
automation:
  - alias: "Cat ate"
    trigger:
      - trigger: state
        entity_id: event.cat_feeder_activity
    condition:
      - condition: template
        value_template: "{{ trigger.to_state.attributes.event_type == 'eat_over' }}"
    action:
      - action: notify.mobile_app_phone
        data:
          message: "The cat has finished eating."
TIP
Activities are also recorded in Localkit's Activity Log, with pet names resolved via pet recognition and camera recordings attached.
Camera Streams
Localkit camera streams can be viewed in a Home Assistant dashboard and exposed as a virtual Media Player for audio or TTS playback on devices that support camera two-way audio.
This setup uses the WebRTC integration and add-on, which provide the Home Assistant WebRTC camera card, webrtc media player platform, and go2rtc stream configuration.
Requirements
- WebRTC integration and add-on
- A Localkit device with an RTSP stream and two-way audio support
Configure go2rtc
Add the device stream to go2rtc.yaml in your Home Assistant configuration folder.
Example:
streams:
  cat_feeder:
    - rtsp://10.0.0.190:8554/cam?backchannel=1
    - ffmpeg:cat_feeder#audio=opus
Replace 10.0.0.190 with the IP address of your Localkit device.
View the Stream
Use the WebRTC camera card to view the stream in a Home Assistant dashboard.
Example:
- type: custom:webrtc-camera
  streams:
    - url: cat_feeder
      name: Watch
      mode: webrtc
      media: video,audio,microphone

  # Optional: Use visibility to hide when the camera is off
  visibility:
    - condition: state
      entity: switch.cat_feeder_camera_switch
      state: 'on'
Create a Media Player
The WebRTC integration can also expose the stream as a virtual media player.
Speaker quality
The built-in speakers are low quality. They work okay for TTS announcements, but are not recommended for music playback.
Add a virtual media player to your Home Assistant configuration.yaml.
Example:
media_player:
  - platform: webrtc   # Required
    name: Cat Feeder   # Any name you chose
    stream: cat_feeder # Must match the stream name from `go2rtc.yaml`
    audio: pcma        # Highest quality that YumShare Dual Supports
After changing configuration.yaml or go2rtc.yaml, restart Home Assistant or reload the affected configuration.
Source: WebRTC streaming to cameras and virtual media players